Handmade Giving: Embroidered Ornaments
You guys are going to love Amy of Blissful Blooms. She is such a sweetheart…you’ll see one of the reasons I think so at the end of this post 😉 Amy is a fellow junk lover and she is super creative. You’re all going to be making these this afternoon…
Hello!
First off I want to start by saying thank you to Alicia for including me in this fun handmade gift series.
I am so honored to be included with all these talented gals.
I absolutely love making, giving and receiving handmade gifts.
Just a few days ago I pulled out my Christmas decorations, and was delighted to find my hand-painted noel sign and bunting Alicia made me last year.
It made me think of her and put a smile on my face.
I love making gifts for people I care about because I think of them the entire time I’m working on the project.
A home made gift is so special, unique and made with love.
So with all that, let me show you what I created:

A fun embroidered ornament!
I have recently fallen in love with embroidering.
If you haven’t tried it, this is the perfect first project because it is super quick and easy!
AND, this is nice and small so it’s easy to carry in your purse, so you can bust it out during piano lessons and work on it while you’re waiting.
Here’s what you need:
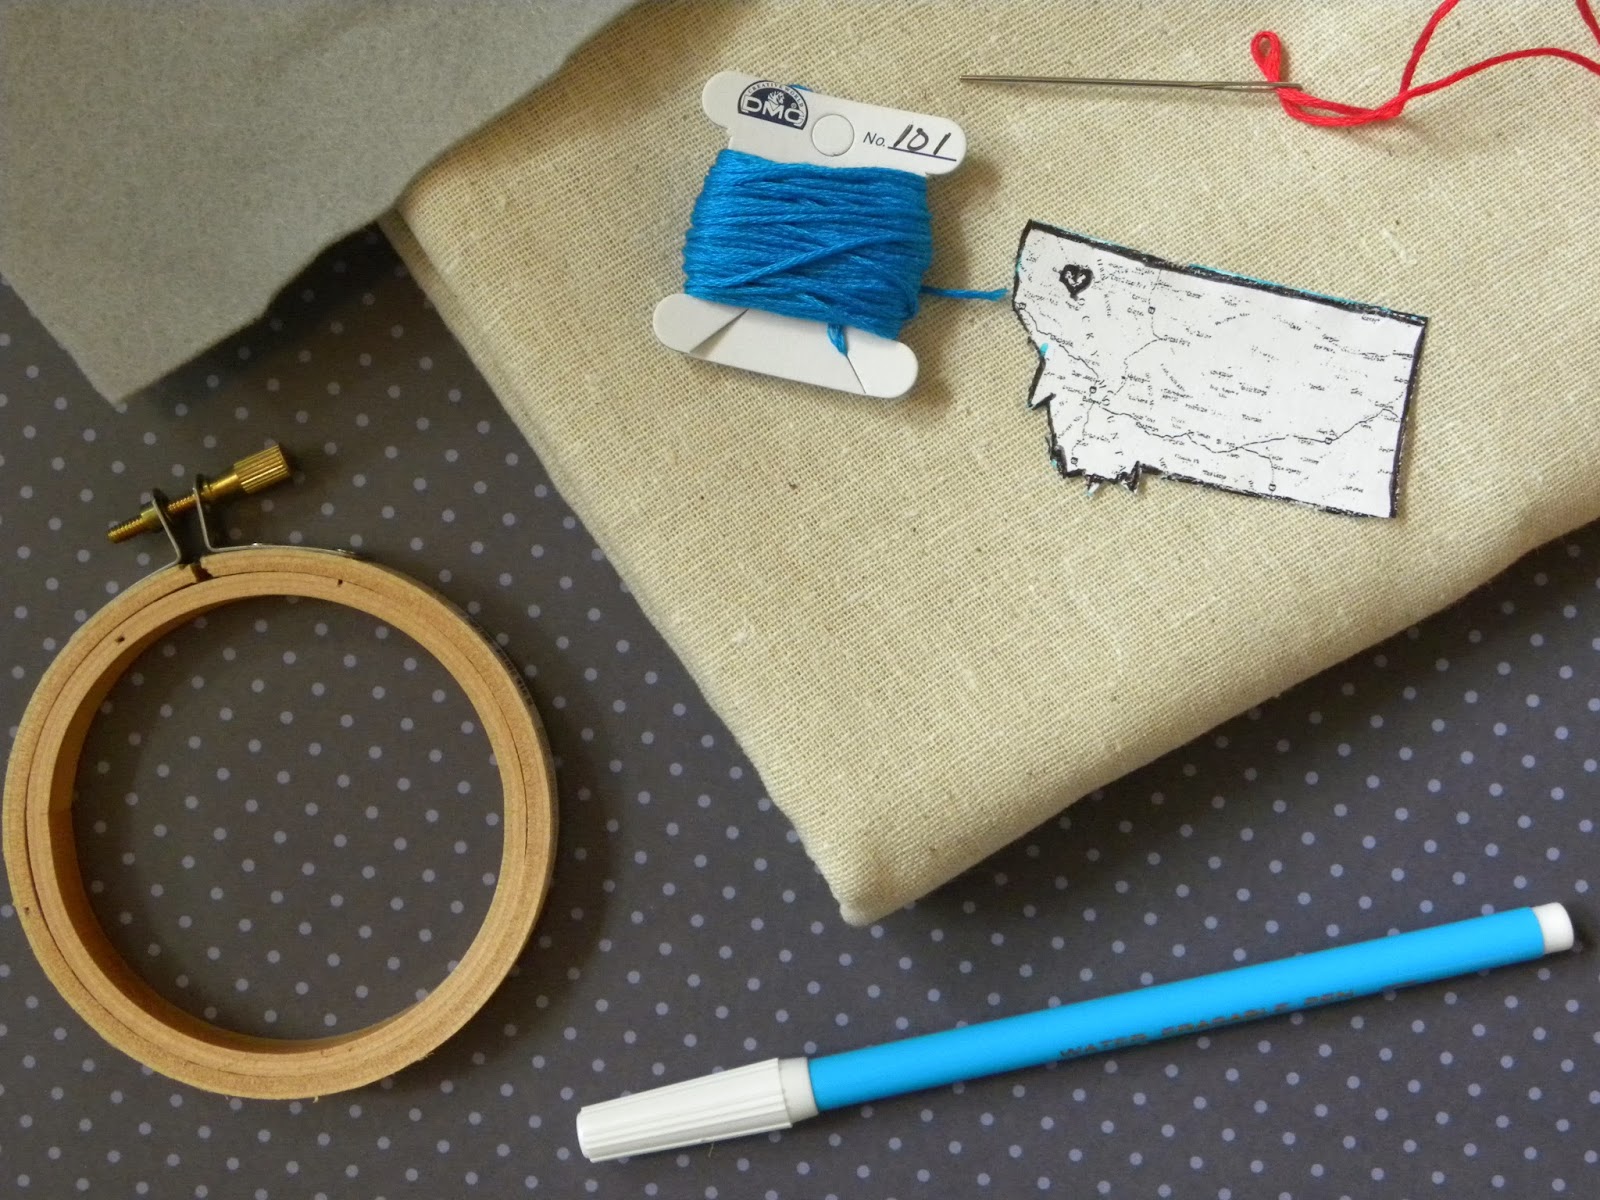
- small embroidery hoop
- some type of plain fabric- I really like using muslin- I buy it at Joann’s near where they have all the burlap
- water soluble pen (found in the embroidery section)
- felt
- needle and embroidery thread
- shape of the state you want to stitch- THIS web site is great
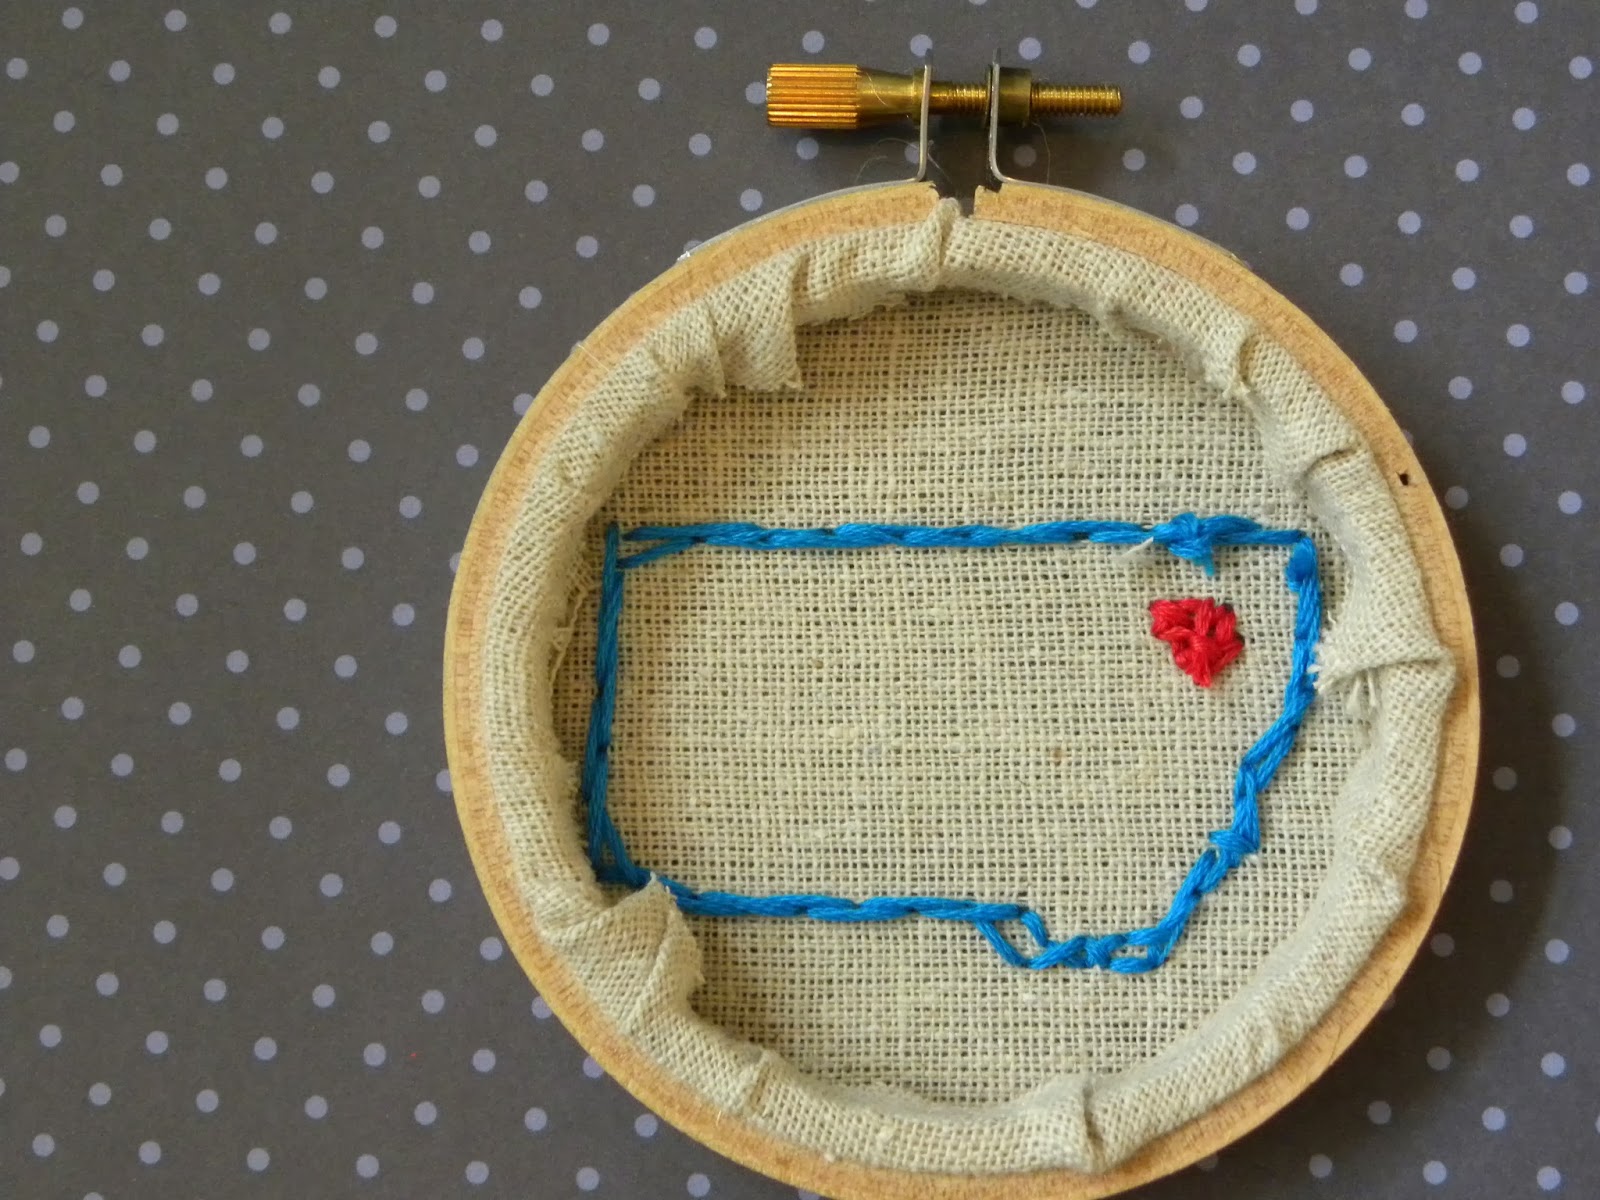
First, trace your state on your fabric
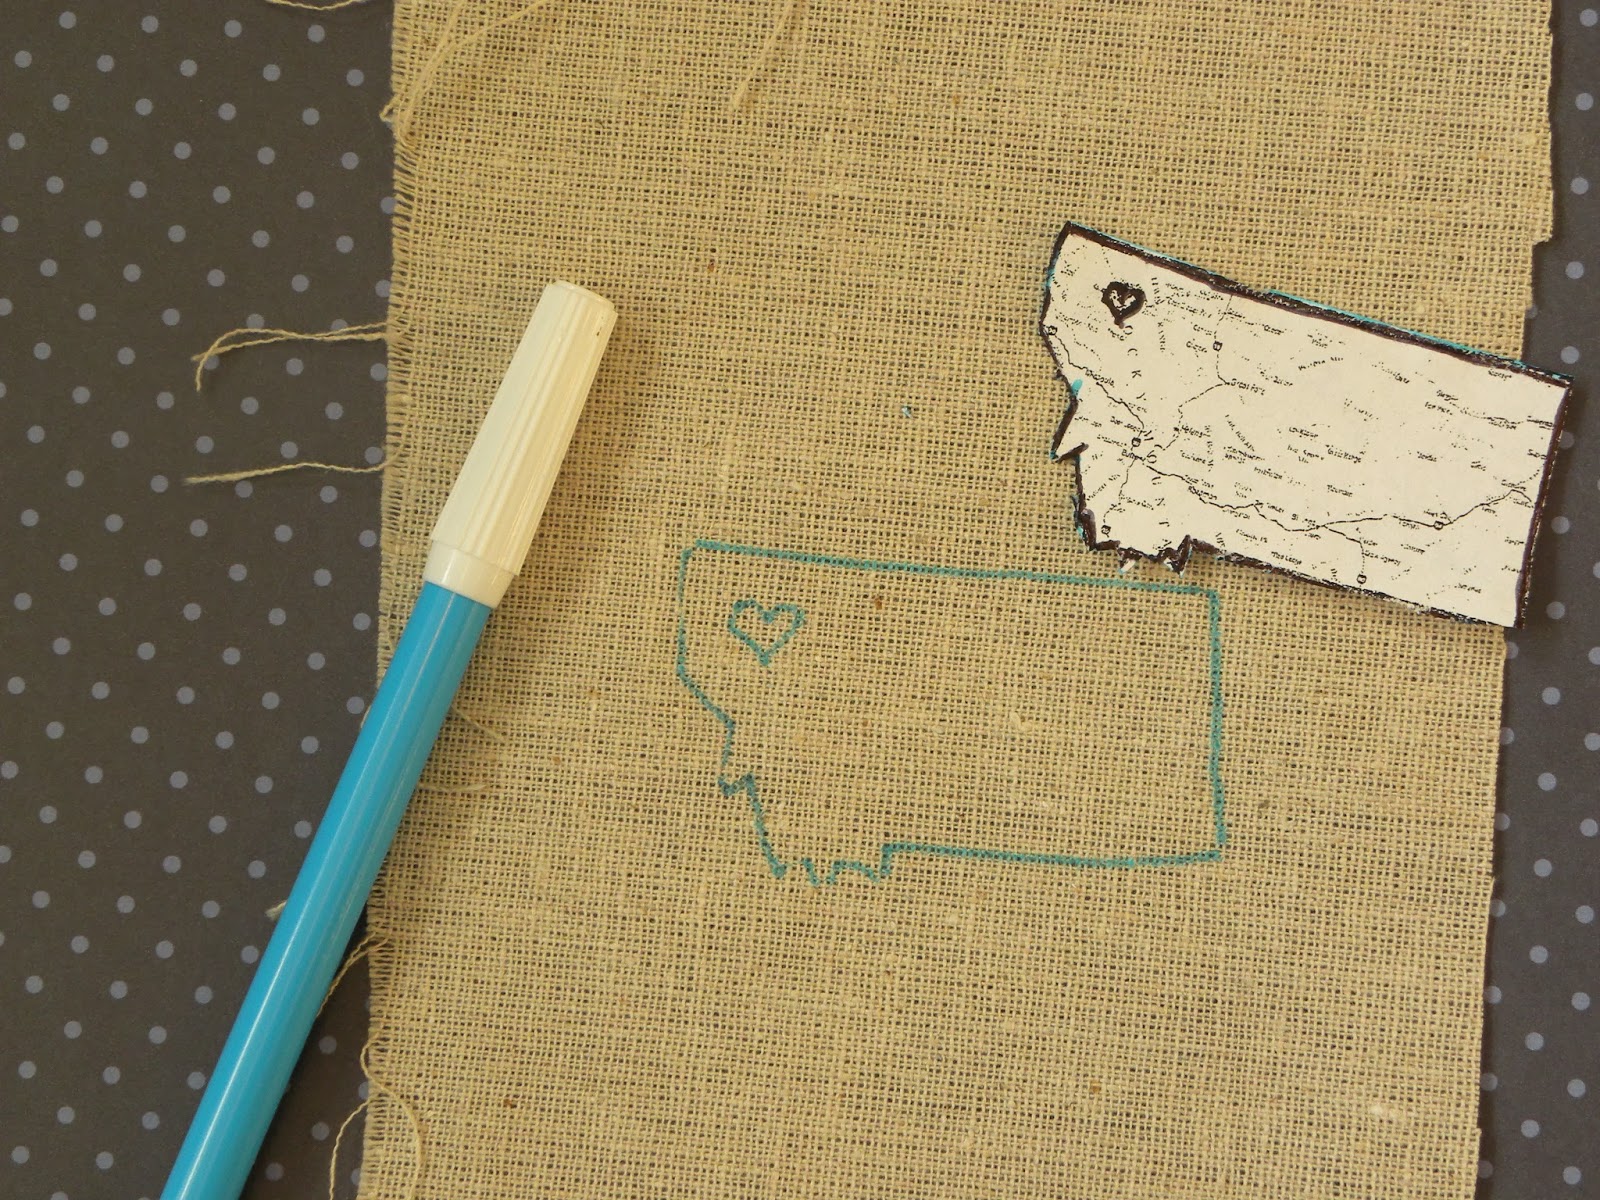
Then center it in your hoop
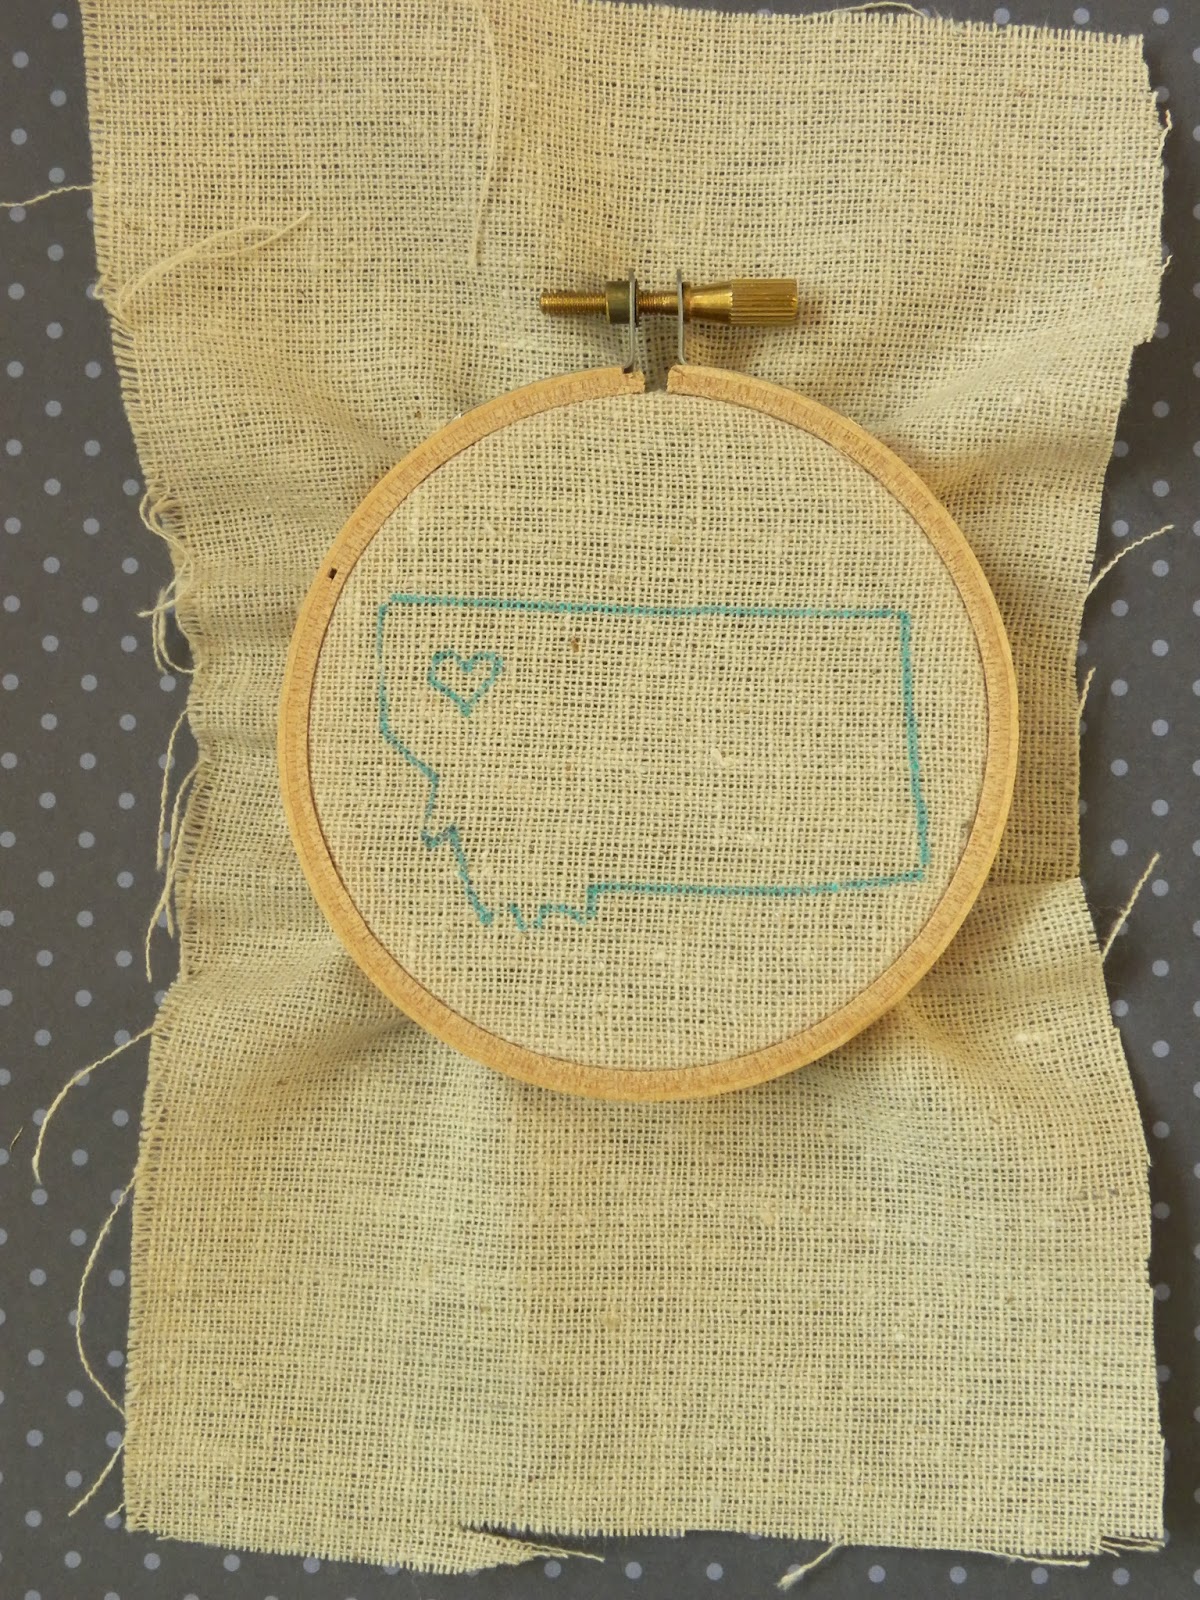
and stitch away!
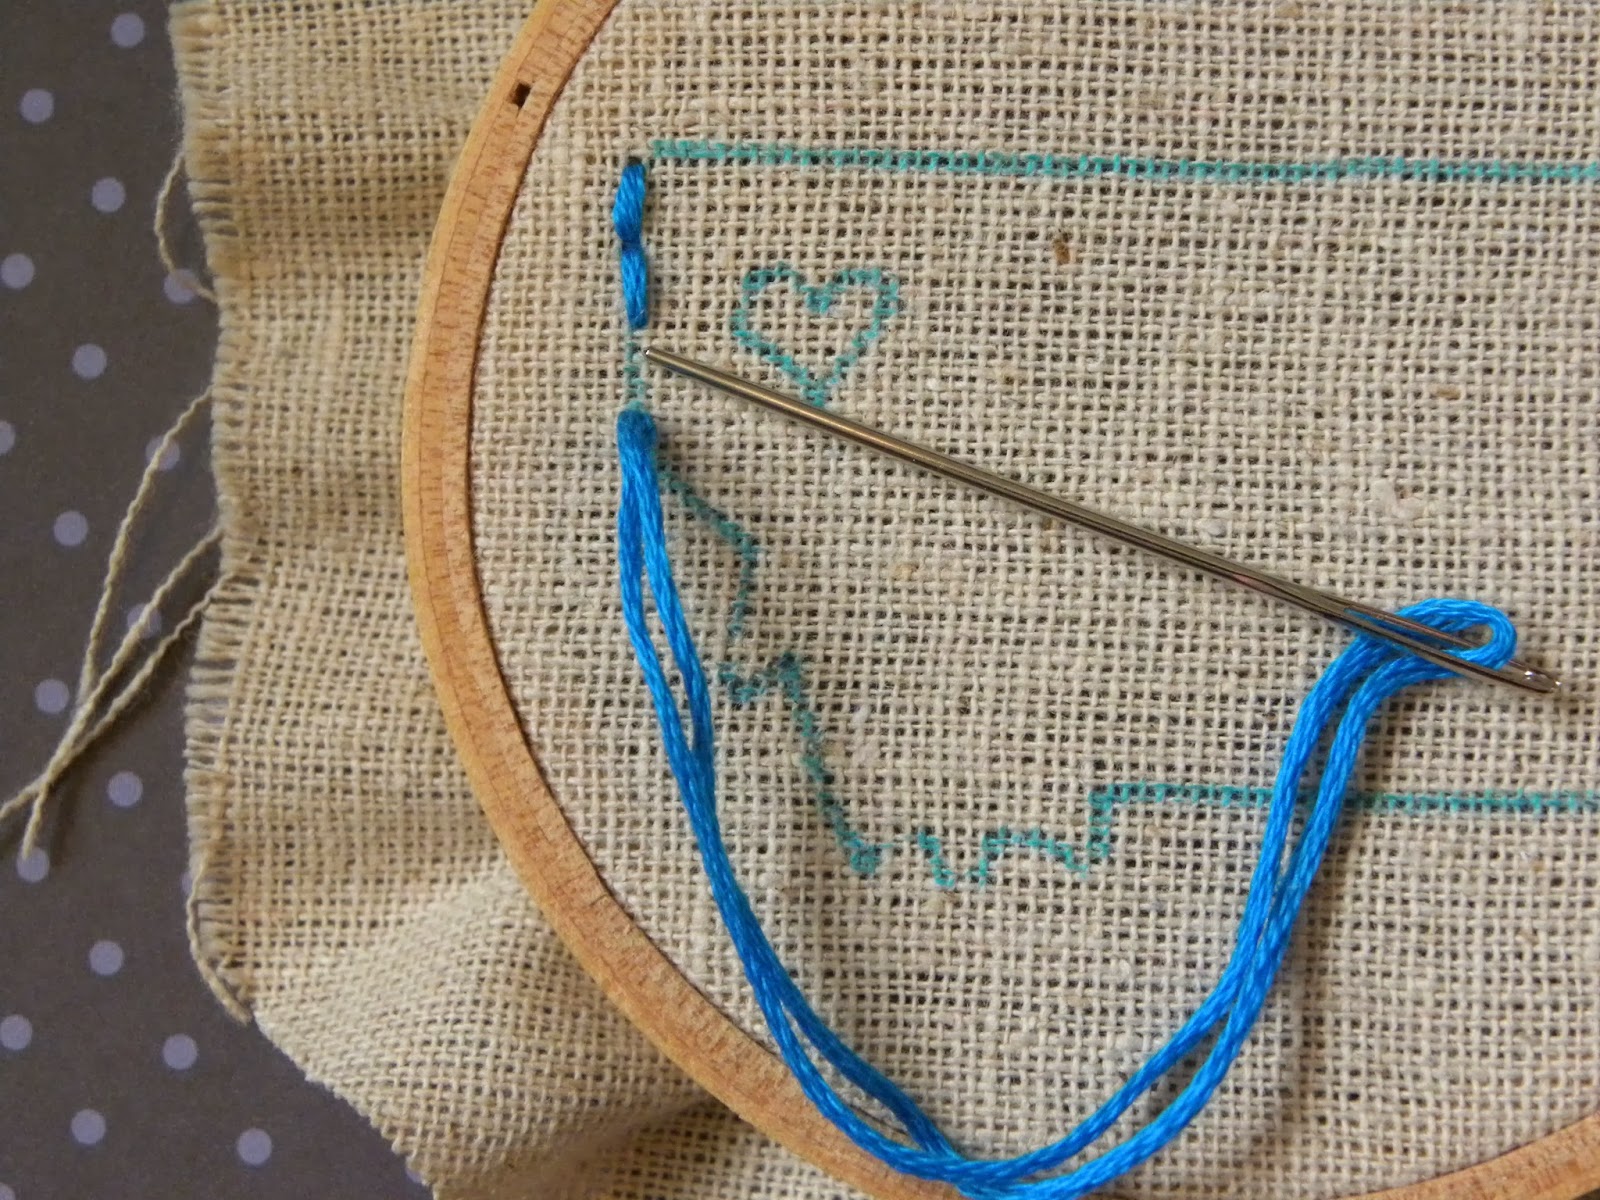
I like using the back-stitch.
It is SUPER simple.
There are so many fun stitches- you could get fancier than my simple back-stitch.
You can look for tutorials on U-Tube
or check out books from the library.

Super fast- 15 minutes to stitch!
Learning Well LLC is a participant in the Amazon Services LLC Associates Program. As an Amazon Associate, I earn from qualifying purchases. Affiliate links from Amazon or other programs are used on this website. For more info, please refer to our disclosure statement.
To finish off the back,
I trim the excess fabric and hot glue it to the inside of the hoop.
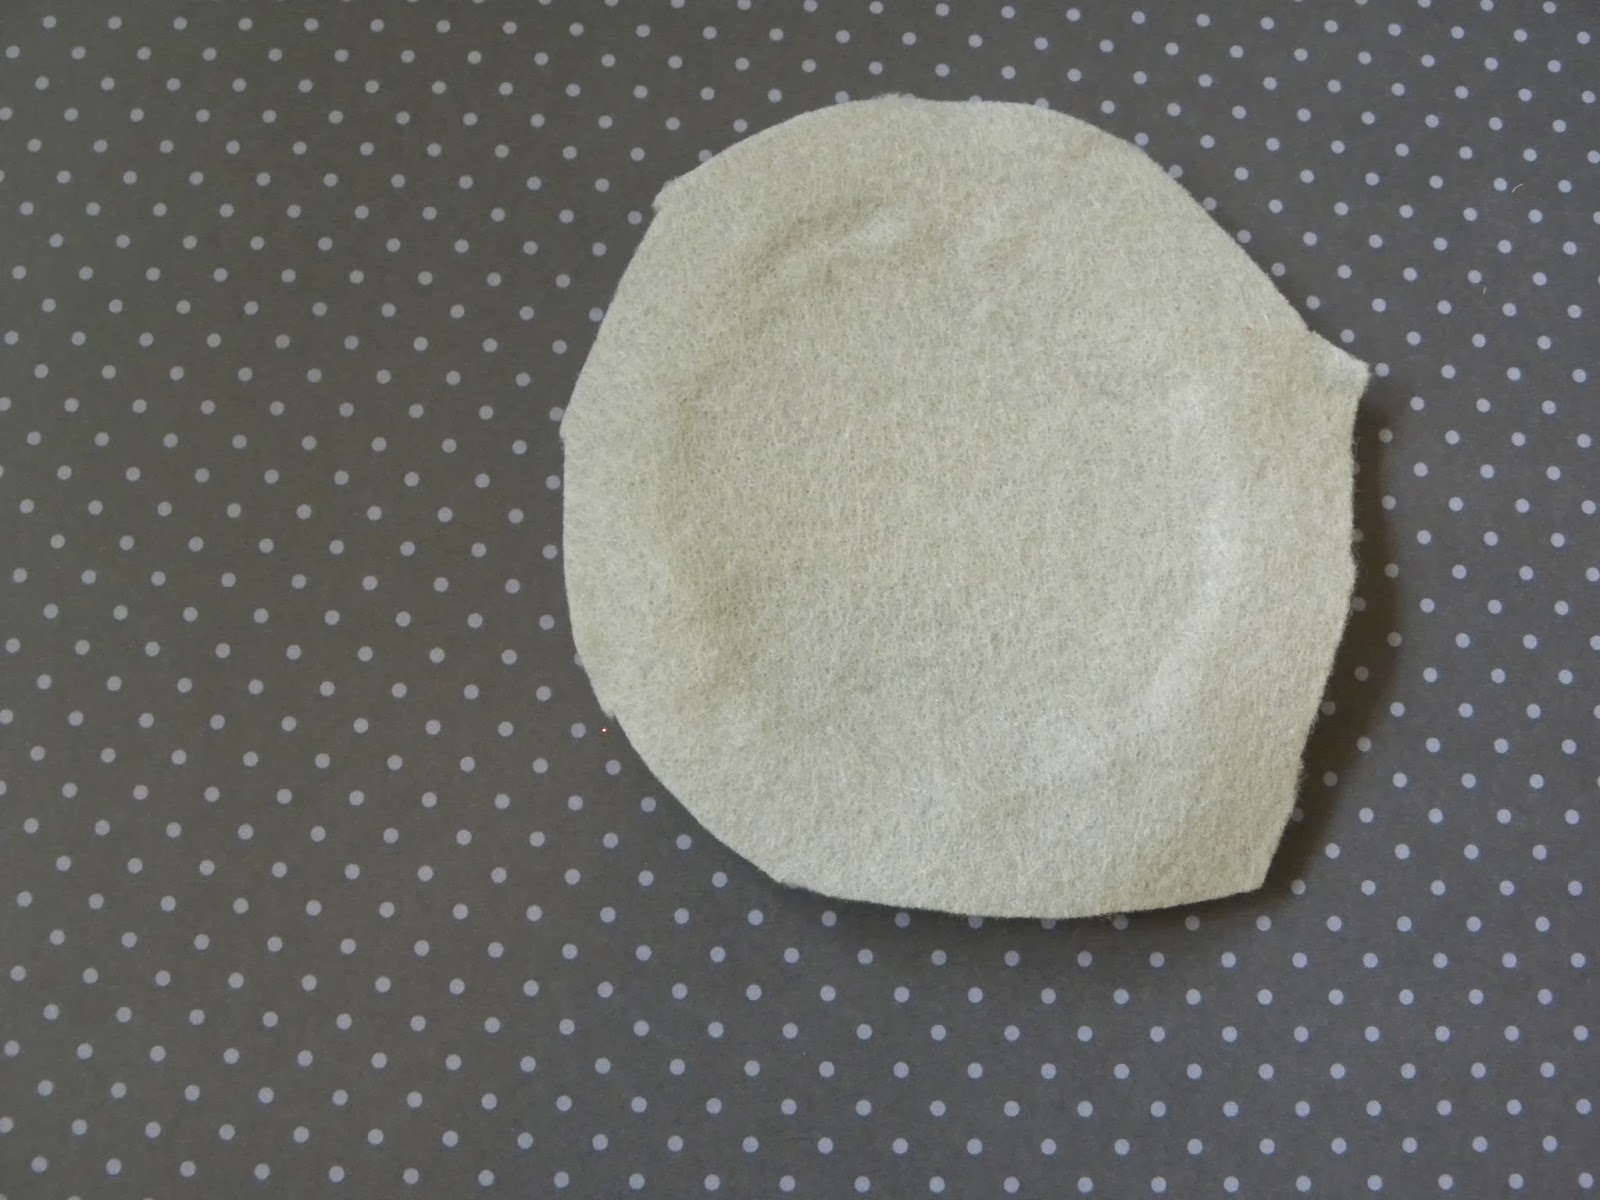
Then I simply glue a piece of felt to the back
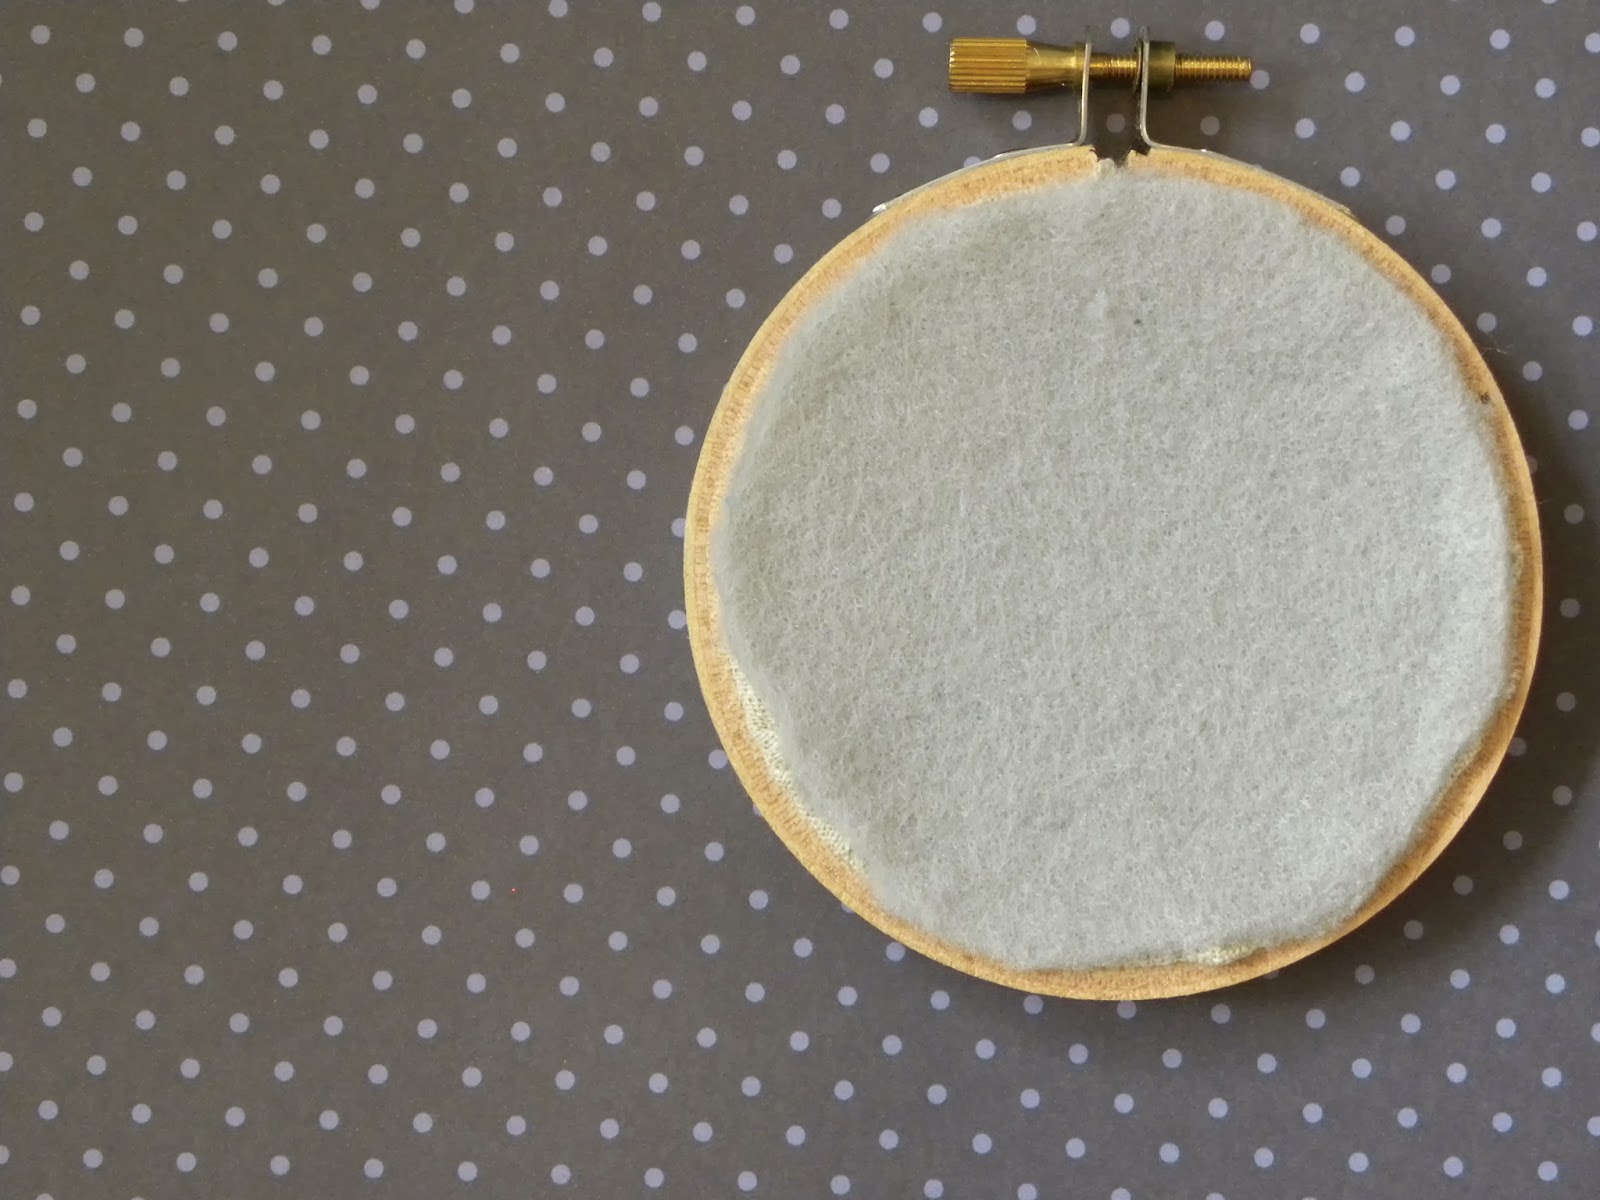
and trim off the edges.
Add a little baker’s twine and
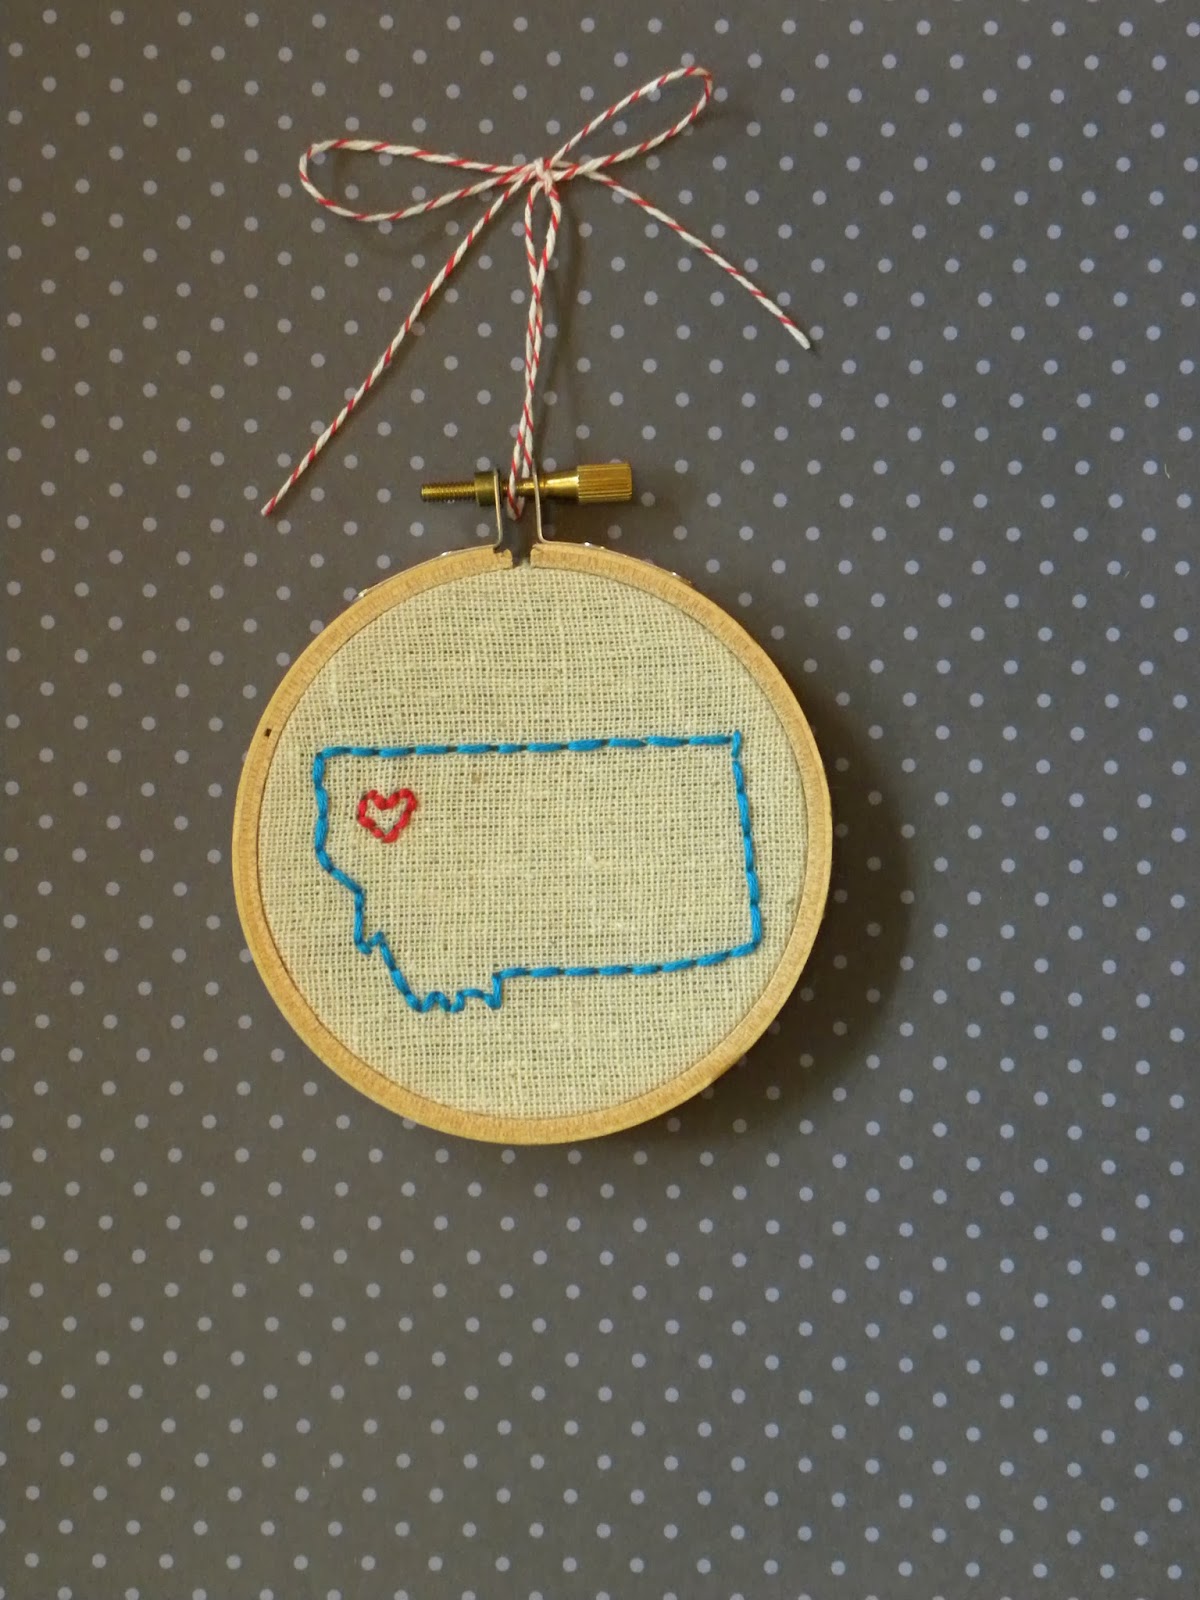
You’re done!
You could also change up the image to make it more personal.
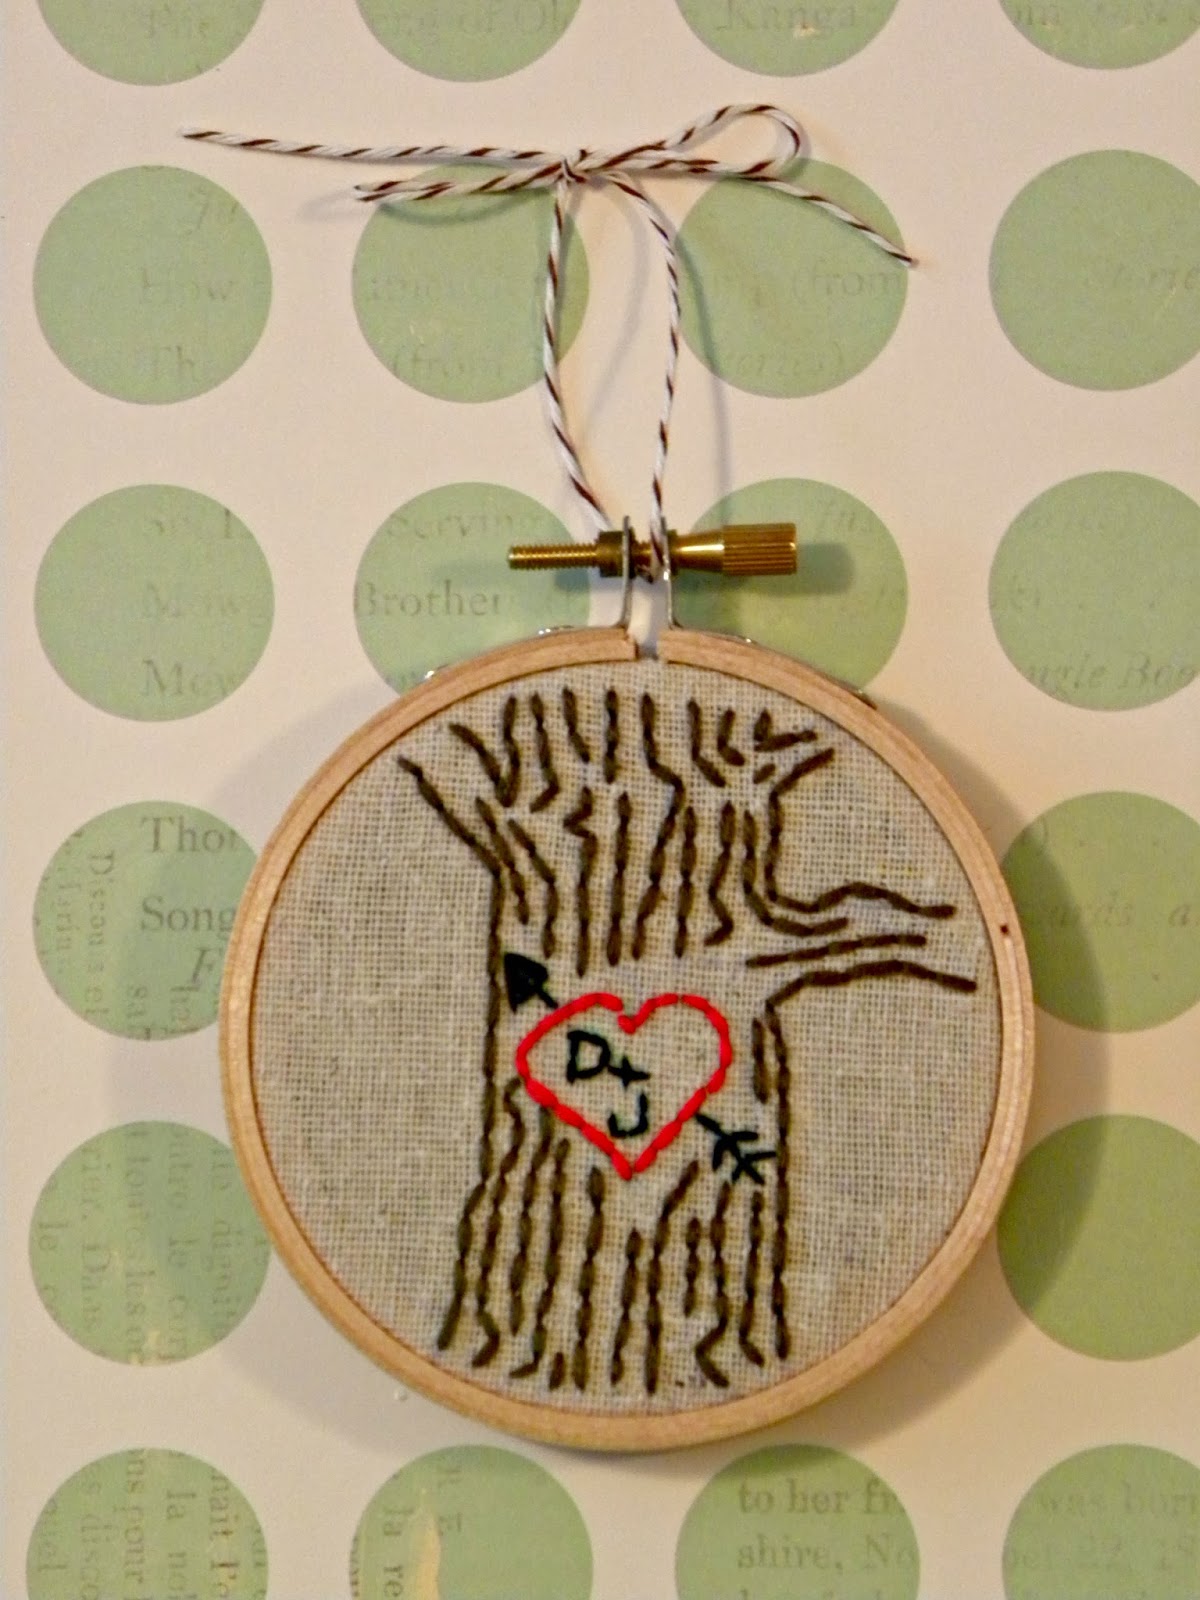
This is for two special people who celebrated 20 years of marriage this year!
I got the tree image from here
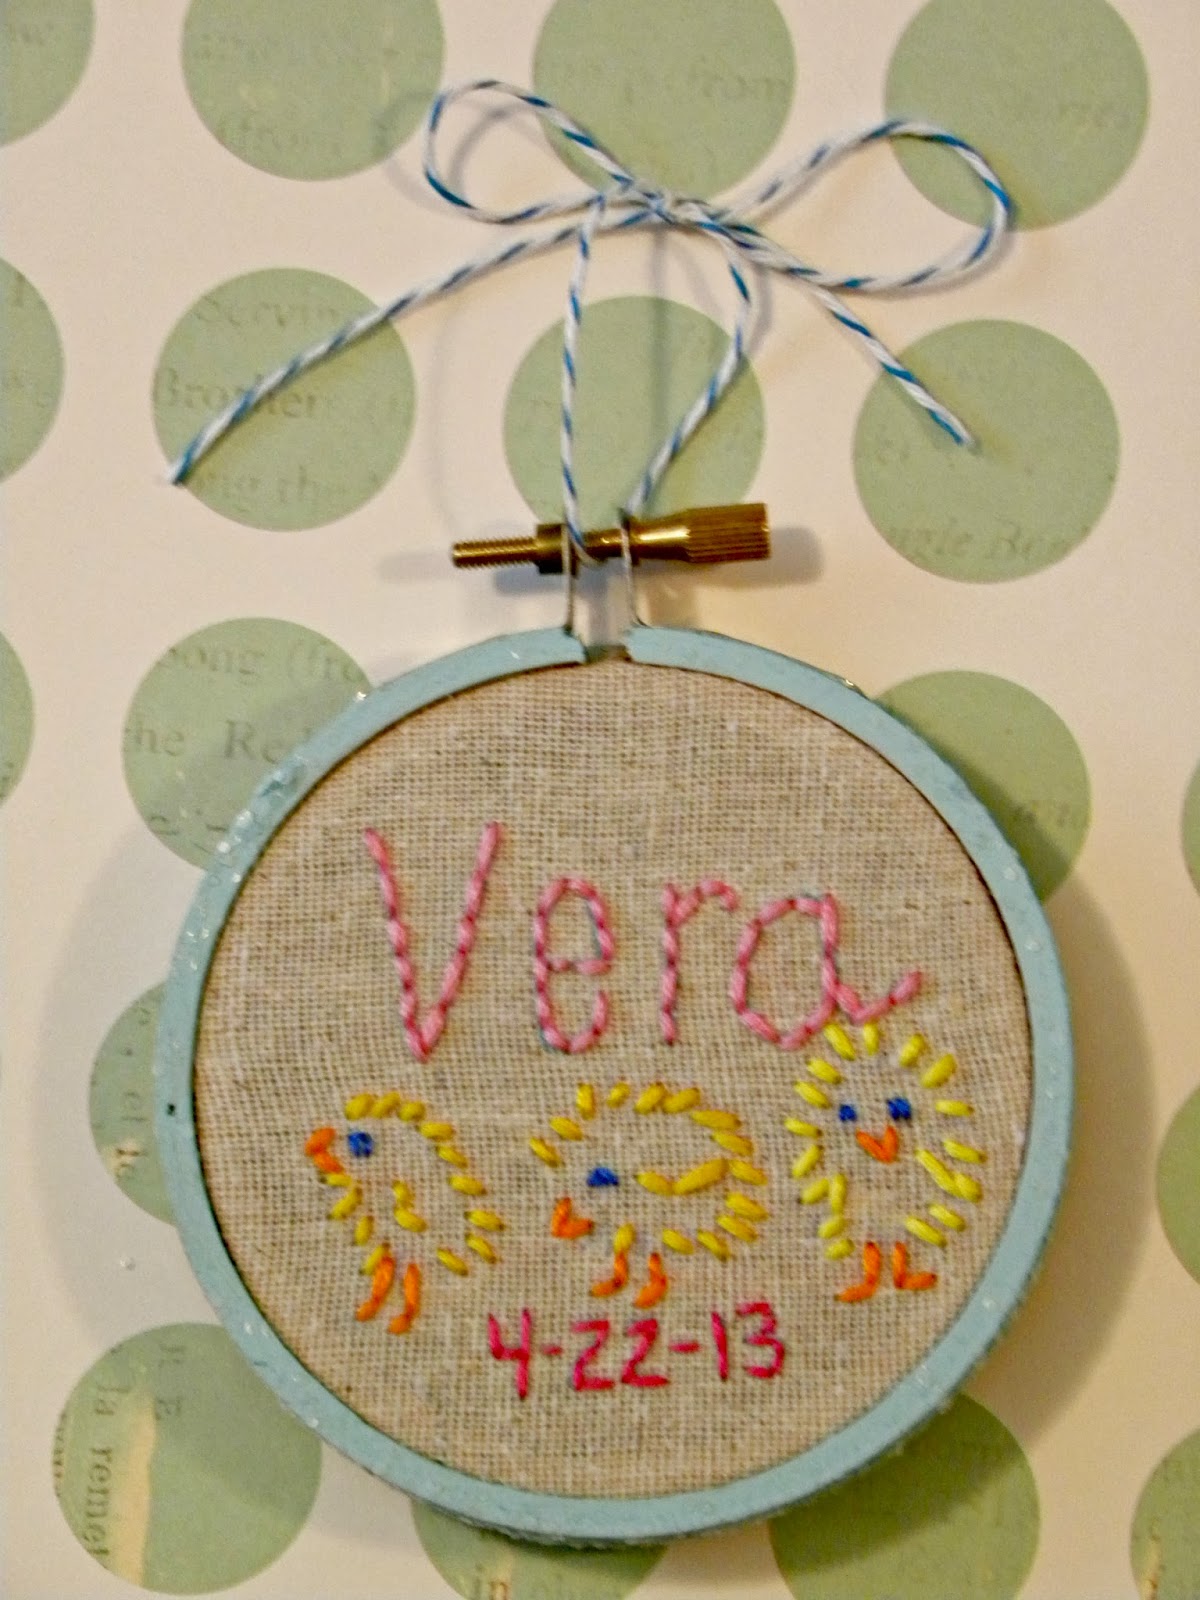
Hmmmm . . . I wonder who this one is for
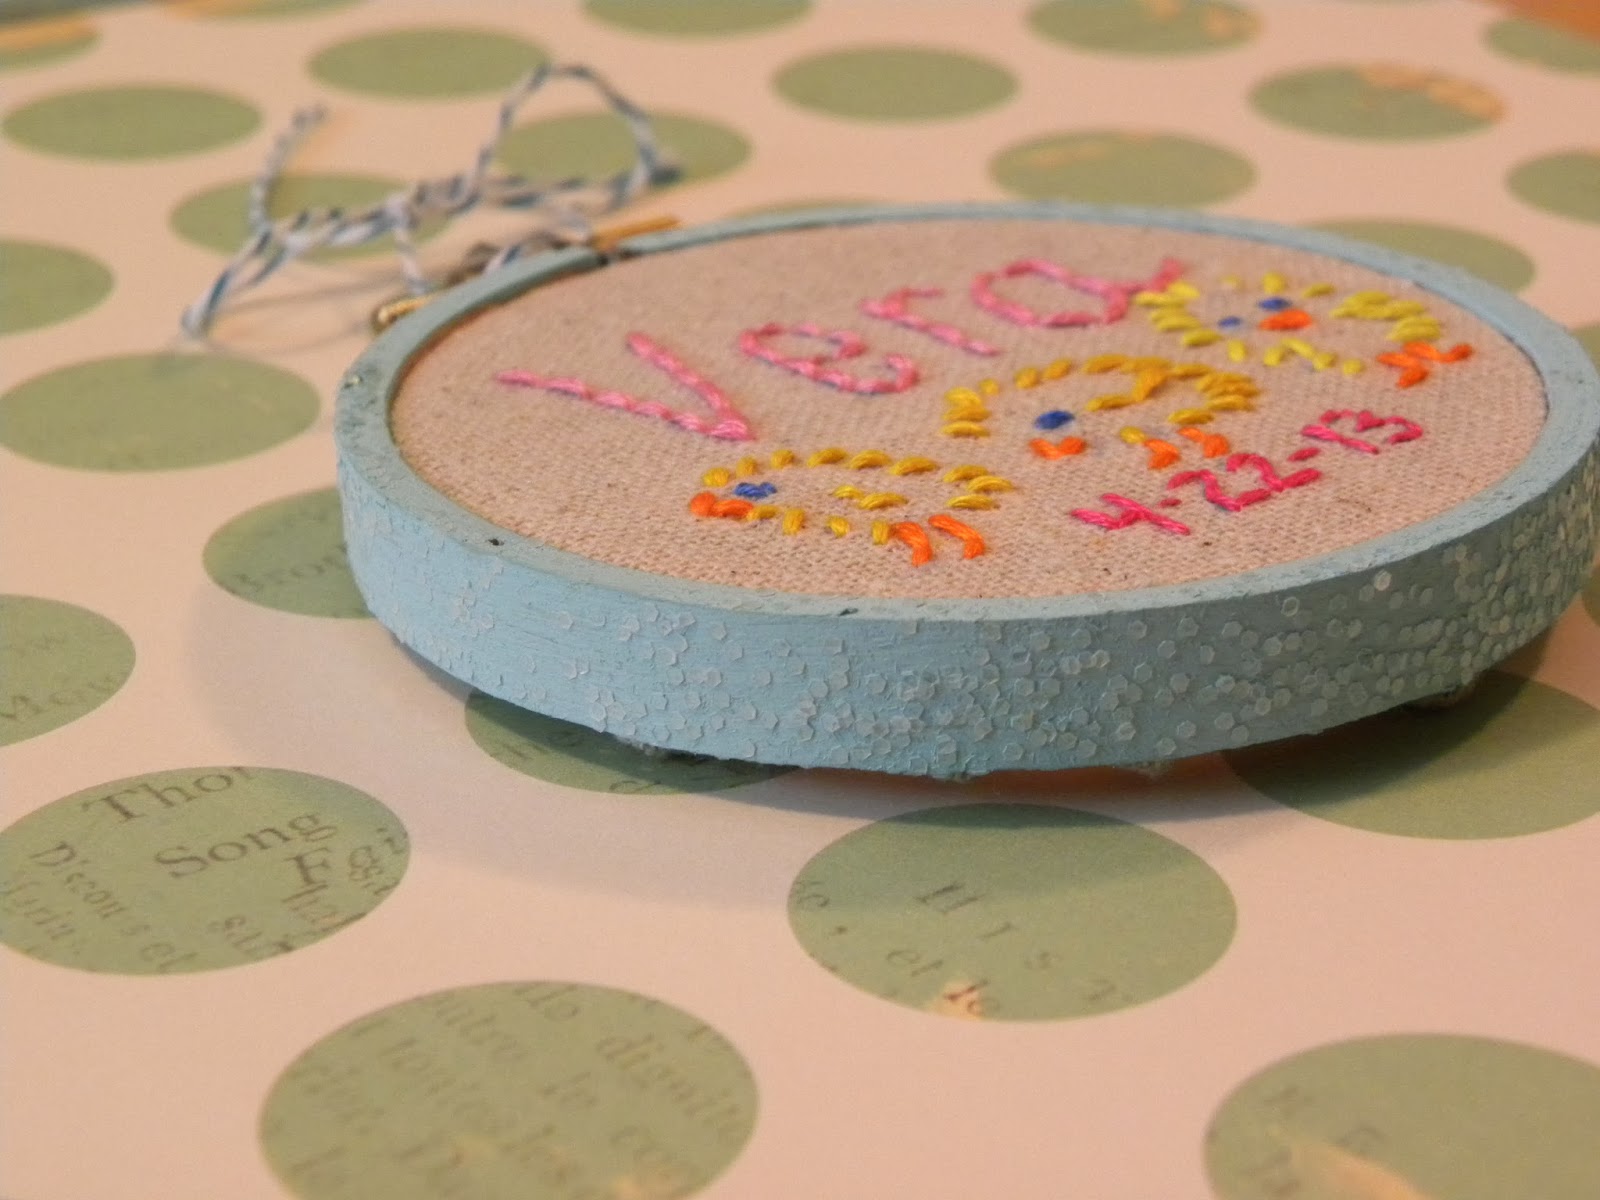
On this one, I painted the hoop and added a bit of glitter.
I think everything is better with glitter.
These ornaments would also make sweet gift tags for your gifts!
They are super simple to make personal because you can find any image to stitch.
Because they’re so fast, they’re kind of addicting.
I hope you get a chance to try these out.
Happy crafting!

These are so cute! I’m in love with the red pickup truck with the tree … STILL! I know it’s been around now for a couple maybe three or more! years but I cannot get enough of it!!
Amy,
These are sooo divine!!
I am so making some of these!
I have my bestie and her family coming out from England to spend three weeks with us over the Christmas holidays- I can see little maps of Australia for them to take home!!
Thanks for sharing this one!
Melissa xx
Miss Sew & So
Thank you Alicia for letting me be a part of this fun series! Love you girl !
Such a fun project.
Fondly,
Glenda
Oh my goodness – these are SO adorable! I love how you explained it so simply too – great gift idea! <3
those are the sweetest!!!
I love these Amy! I think I can handle this! Loving all of these great and SIMPLE ideas!
I just got into embroidery and this is such a sweet idea! Definitely making a few of these beauties! I am currently addicted to all things Silhouette shaped.
Happy crafting!
xo- susan @sugarBeans.org
SO cute…and easy! 🙂
eeeeek!
SO cute Amy!!!
love it!
xo!
These are adorable! Definitely making one for our tree!