Our Built-In Shelf and Brick Fireplace Makeover
Today, finally, I am going to show you a full reveal of our brick fireplace makeover and the built-ins surrounding it. Earlier this year, when we took down the Christmas tree, it was time to work on some projects that had needed to get done for a long time. The first one was the main floor bathroom and the second was the fireplace. I decided to demo them both at the same time, which might not have been the best idea. Both projects are finished now at the end of the year! Yay!
Today I want to give you a quick tour of what the makeover looks like and some peeks at Christmas around the house too.

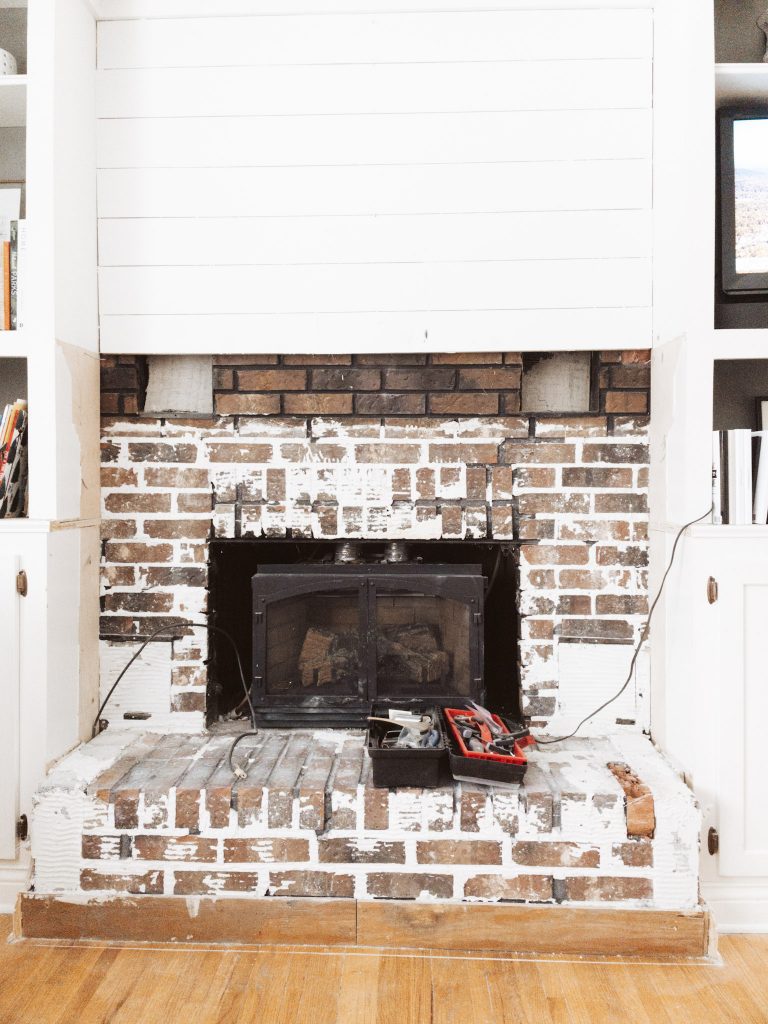
BEFORE: Built-In Shelves and Brick Fireplace
I love that whoever lived in our house before us, built lots of built-in shelves around. Bookcases built in in the dining area, more bookshelves in the family room in the basement, and of course, the shelves around the fireplace. We have since moved the shelves in the dining area to other places, but I love that someone who lived here used their woodworking skills on this house. It all adds character!
Learning Well LLC is a participant in the Amazon Services LLC Associates Program. As an Amazon Associate, I earn from qualifying purchases. Affiliate links from Amazon or other programs are used on this website. For more info, please refer to our disclosure statement.

The only thing we wanted to change on the shelves was the color.
The fireplace has a gas insert, which we debated removing and making it a wood burning fireplace, but decided it was most economical to leave it as is. If you pull the gas insert out and there are issues with your flue or chimney–which you can’t see until you’re inside–it can be very expensive.
The tile surrounding the fireplace was an issue though–it was just not to our taste at all. We had lived with it for about six years and were confident we wouldn’t miss it.


The AFTER: Brick Fireplace
The brick fireplace makeover was a bit more in-depth than the shelves. We first had to remove the old tile, which was hard work. But as soon as we got down to the original brick below it, we could start with the new brick.
We used an awesome product for the brick: 1/2 bricks! They are actual bricks but cut into slices so they are much easier to work with than full bricks. We loved these! You cut them on your tile saw, just as you would tiles.


The mortar between the brick worked very similarly to grouting tiles. But instead of spreading the grout overtop of the brick and wiping it off, we used a grouting bag to pipe the grout between the bricks. While the grout was still wet, I used my finger to smooth it out and work it in between the bricks. This was pretty tedious. I recommend using a gloved hand, as the grout will wreak havoc on your skin.


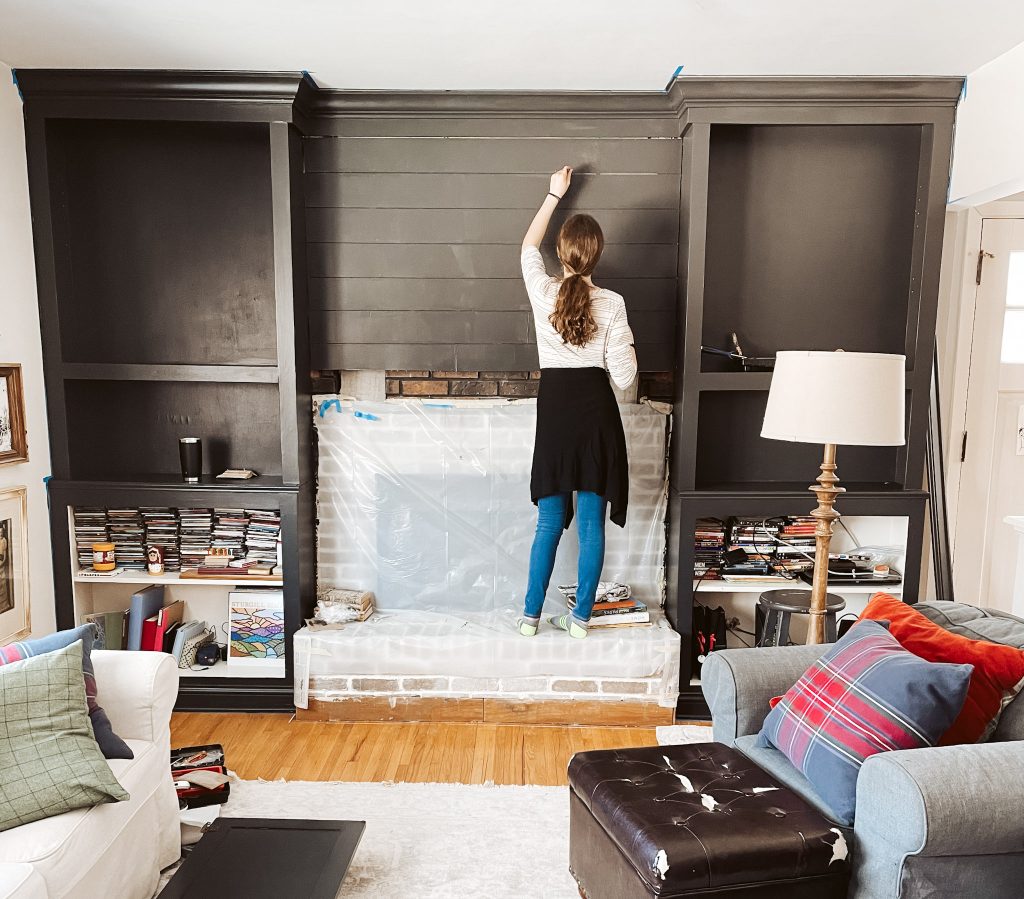
The very last bit was the mantel. I really wanted to use an old beam that was inside our house at some point that we had found in the backyard. But it was buried in many inches of snow and frozen to the ground. We went with the next best thing, which was a pre-made mantel made to look old 🙂
After: The Bookshelves
If you’ve ever painted bookshelves, you know it’s not the easiest project–all the angles are tricky to get into. But bricking the fireplace was definitely the bigger task.
We did not prime these but we did give them a light sanding and a wipe-down before painting. The ceramic pulls looked great with the black and I had added them a couple of years prior to painting, so I just kept those.
After the paint, we added a clear poly to add protection against chipping and that was it!


ALL DONE!!!
Christmas Decorating with the Brick Fireplace Makeover


Materials Used: Brick Fireplace Makeover
- Grout Bag
- Tile Saw we used–it’s not very expensive and we have used it on several big projects so far and it’s been great!
- Mortar for Brick
- Grout for Brick
- We use THIS PADDLE for mixing the grout and mortar because it makes it 10x easier
- Old Mill Brick flat pieces. We used the Rushmore color.
- Old Mill Brick flat pieces
- Mantel in Aged Oak
Materials Used: Built-In Shelf Makeover
- Paint Color: Graphite by Benjamin Moore
- Poly Coat
Thank you, Lynette!
Thanks, Laurie!!
Thanks so much, Rana!!
I love the black, it really makes the fireplace POP!! You guys did a great job!
Great job!! I love it!!
We (I) want to put a fireplace in our home. Some friends added one and their home is similar so now I can REALLY picture it! Ha!
Anyway, I love the warmth your makeover brought.
Everything looks wonderful!